


The content below is taken from the original ( How to Download a File using PowerShell), to continue reading please visit the site. Remember to respect the Author & Copyright.
PowerShell can download files from the Internet and your local network to your computer. Learn how to use PowerShell’s Invoke-WebRequest and Start-BitsTransfer cmdlets to download files here.
Welcome to another post on how PowerShell can assist you in your daily job duties and responsibilities. Being able to download files from the Internet and your local network with PowerShell is something I hadn’t really thought a lot about. But, just thinking about the power and scalability of PowerShell intrigues me to no end.
There are so many possibilities around scripts, downloading multiple files at the same time, auto extracting ZIP files, the list goes on and on. If you ever wanted to download the various Windows patching files from the Windows Update Catalog, you could script it if you have the exact URL.
While a bit tedious at first, you could definitely get your groove on after a little bit of tweaking and learning. But let’s first discuss prerequisites.
Prerequisites
They aren’t stringent. You just need PowerShell 5.1 or newer to use the commands in this post. Windows 10 and Windows 11 already include at least version 5.1. Windows Server 2012/R2 comes with version 4.0.
You can also simply download the latest and greatest by downloading PowerShell 7.2.x from this link. And, come to think of it, I’ll use this URL later in the article and show you how to download this file… once you have an appropriate version installed. 
Use PowerShell to download a file from a local network source
Let me start by letting you know I’m utilizing my (Hyper-V) Windows Server 2022 Active Directory lab, again. I’ll be running these commands on my Windows 11 client machine.
First, let’s use the Copy-Item cmdlet to download a file from a local fileserver on my LAN. This command at a minimum just needs a source and destination. I have an ISO in my Downloads folder I need to put up on my G: drive. I’ll create two variables for the source folder and the destination folder.
$source = “c:\users\mreinders\downloads\”
$destination = “\\ws16-fs01-core\shares\folder_01\Extra\”
Then, I’ll run the command and include the -Recurse switch to copy the folder AND the ISO file inside it.
Copy-Item -path $source -destination $destination -Recurse
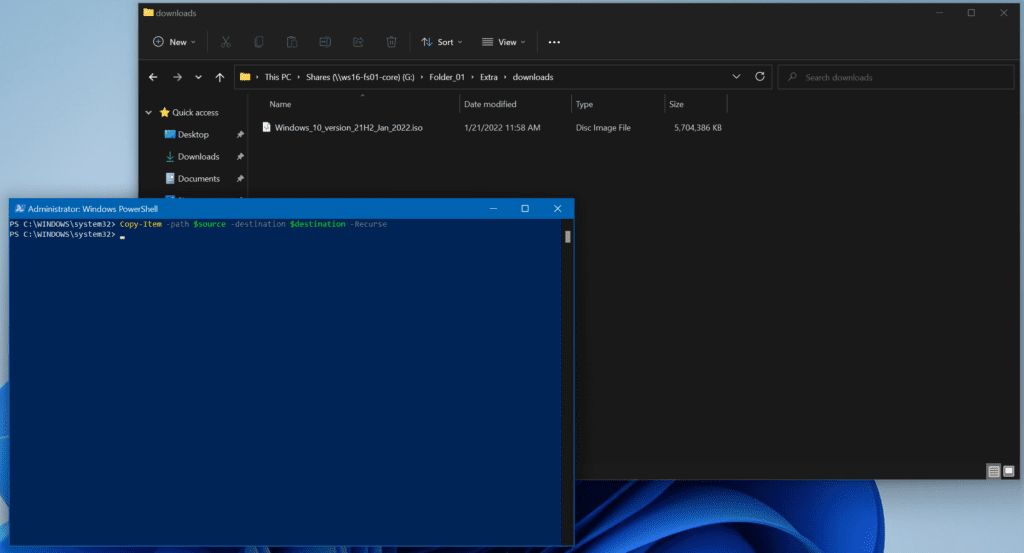
As you can see, the ISO file was copied to the G: drive.
Use Powershell to download a file from the Internet
Next, let’s work on downloading files from the Internet. We can start with the Invoke-WebRequest cmdlet.
With the Invoke-WebRequest cmdlet
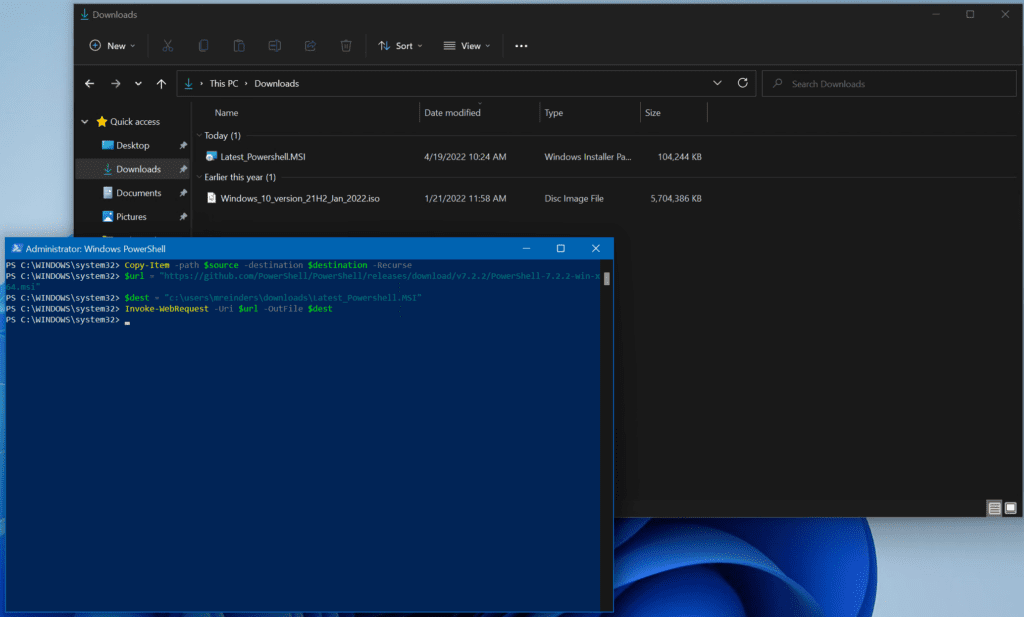
As I said earlier, I can show you how to download the MSI file for the latest (as of this writing) PowerShell 7.2.2 (x64) version using Invoke-WebRequest. Again, let’s set up some variables first. We can use the general concept of a source variable and destination variable.
$url = “https://github.com/PowerShell/PowerShell/releases/download/v7.2.2/PowerShell-7.2.2-win-x64.msi“
$dest = “c:\users\mreinders\downloads\Latest_Powershell.MSI”
Invoke-WebRequest -Uri $url -OutFile $dest
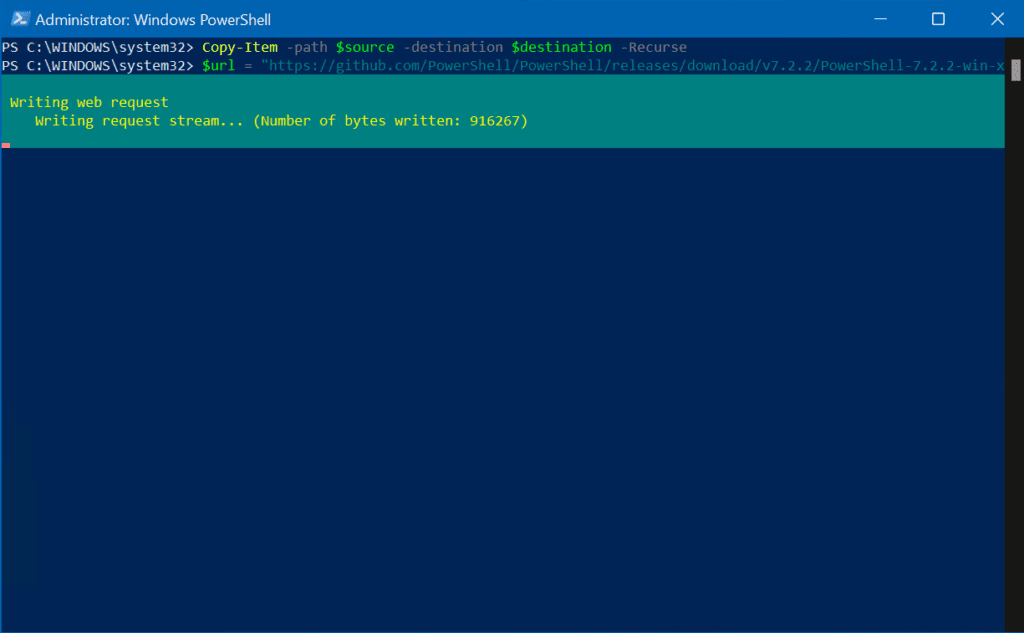
This 102 MB file took about 4 or 5 minutes to download, which is quite a bit longer than I would expect. That’s due to the inherent nature of this specific cmdlet. The file is buffered in memory first, then written to disk.
We can get around this inefficiency by using the Background Intelligence Transfer Service (BITS) in Windows. I’ll show you further below how to utilize all your bandwidth.
Cases when downloads require authentication
You will certainly come across files that require authentication before downloading. If this is the case, you can use the -Credential switch on Invoke-WebRequest to handle these downloads.
Let’s say there is a beta or private preview of an upcoming PowerShell version (7.3?) that requires authentication. You can utilize these commands (or create a PowerShell script) to download this hypothetical file.
# Variables
$url = "<a href="https://github.com/PowerShell/PowerShell/releases/download/v7.2.2/PowerShell-7.2.2-win-x64.msi">https://github.com/PowerShell/PowerShell/Preview/download/v7.3.0-Preview3/PowerShell-7.3.0-Preview3-win-x64.msi</a>"
$dest = "c:\users\mreinders\downloads\PowerShell-7.3.0-Preview3.MSI"

# Username and password
$username = 'mreinders'
$password = 'PleaseLetMeIn'

# Convert to a SecureString
$secPassword = ConvertTo-SecureString $password -AsPlainText -Force

# Create a Credential Object
$credObject = New-Object System.Management.Automation.PSCredential ($username, $secPassword)

# Download file
Invoke-WebRequest -Uri $url -OutFile $dest -Credential $credObject
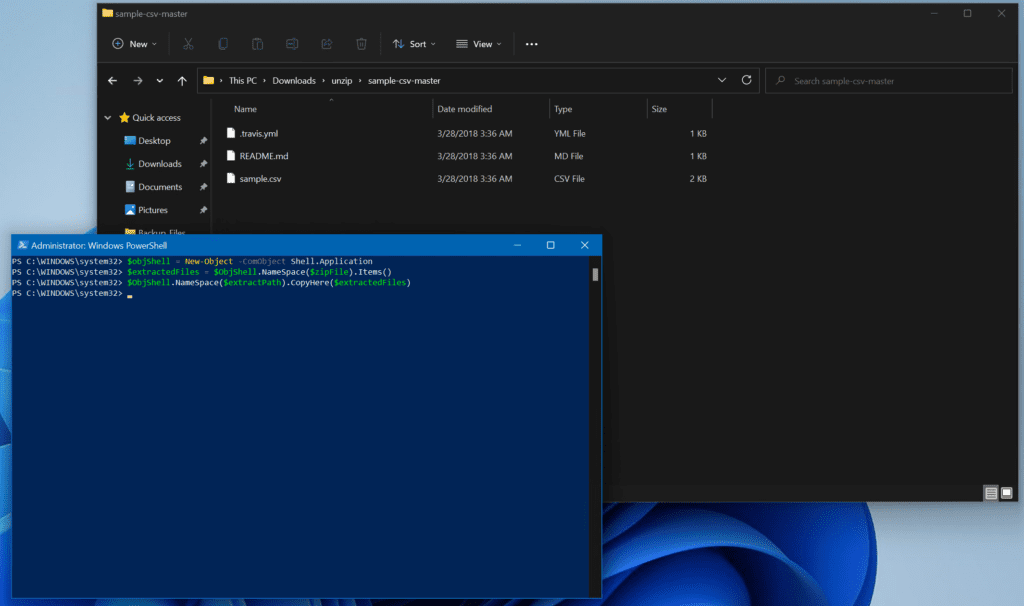
Downloading and extracting .zip files automatically
Let’s see another example of how PowerShell can assist you with automation. We can use some more variables and a COM object to download a .ZIP file and then extract its contents to a location we specify. Let’s do this!
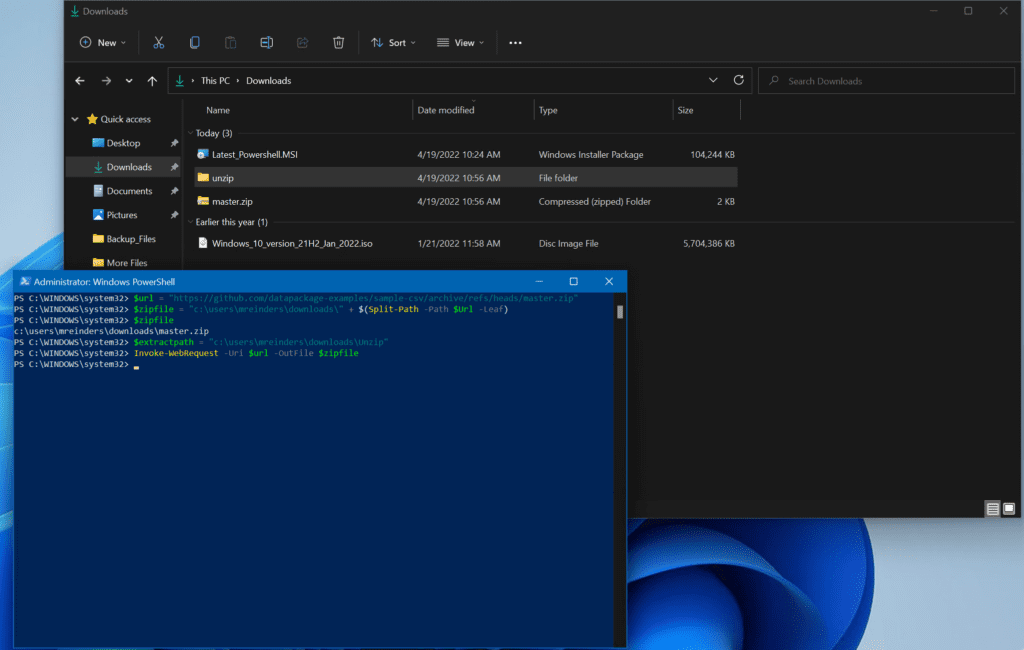
There’s a sample .ZIP file stored up on GitHub. We’ll store that in our $url variable. We’ll create another variable for our temporary ZIP file. Then, we’ll store the path to where the ZIP file will be extracted in a third variable.
$url = “https://ift.tt/S9zC5Dd;
$zipfile = “c:\users\mreinders\downloads\” + $(Split-Path -Path $Url -Leaf)
$extractpath = “c:\users\mreinders\downloads\Unzip”
Invoke-WebRequest -Uri $url -OutFile $zipfile
Now, let’s use the COM object to extract the ZIP file to our destination folder.
# Create the COM Object instance
$objShell = New-Object -ComObject Shell.Application

# Extract the Files from the ZIP file
$extractedFiles = $ObjShell.NameSpace($zipFile).Items()

# Copy the new extracted files to the destination folder
$ObjShell.NameSpace($extractPath).CopyHere($extractedFiles)
With the Start-BitsTransfer cmdlet
Now, let’s see if we can speed up file transfers with PowerShell. For that, we’ll utilize the aforementioned Background Intelligence Transfer Service. This is especially helpful as the BITS service lets you resume downloads after network or Internet interruptions.
We can use similar variables and see how long it takes to download our 102 MB PowerShell MSI installer:
$url = “https://github.com/PowerShell/PowerShell/releases/download/v7.2.2/PowerShell-7.2.2-win-x64.msi“
$destination = “c:\users\mreinders\downloads\”
Start-BitsTransfer -Source $url -Destination $destination
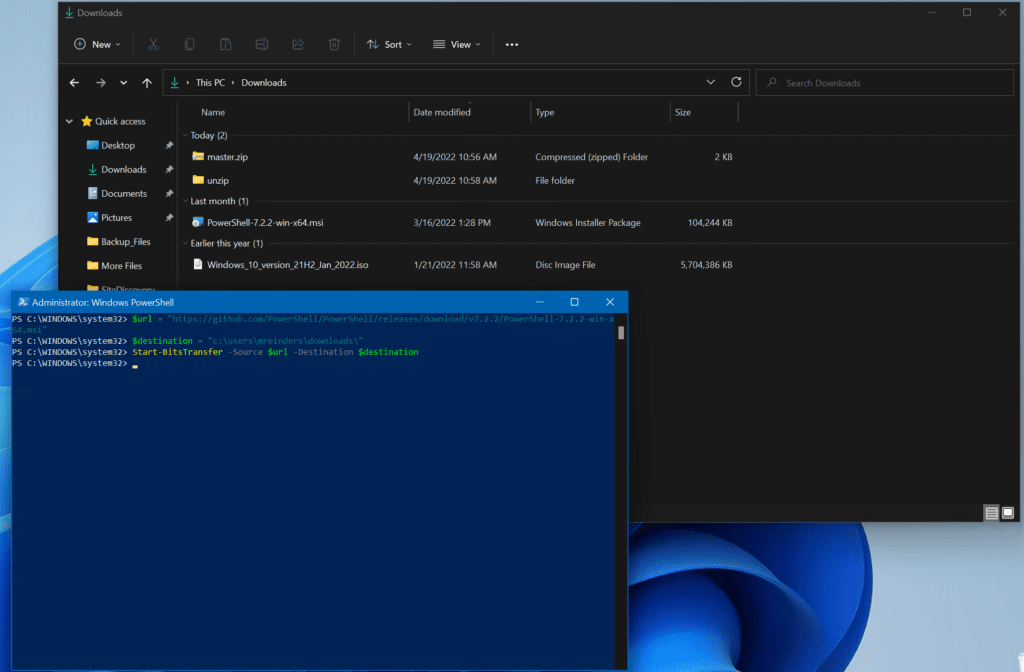
Ok, that went MUCH faster and finished in about 4 seconds. The power of BITS!
Downloading multiple files with Start-BitsTransfer
To close out this post, let me show you how you can download multiple files with the Start-BitsTransfer cmdlet.
There are many websites that store sample data for many training and educational programs. I found one that includes a simple list of files – HTTP://speed.transip.nl.
We’ll parse and store the files in a variable, then start simultaneous downloads of the files asynchronously. Finally, we run the Complete-BitsTransfer command to convert all the TMP files downloaded to their actual filenames.
$url = "http://speed.transip.nl"
$content = Invoke-WebRequest -URI "http://speed.transip.nl"

$randomBinFiles = $content.links | where {$_.innerHTML -like 'random*'} | select href
# Create links for each file entry
$randomBinFiles.foreach( { $_.href = $url + "/" + $_.href })

# Download the files in the background
$randomBinFiles.foreach({
    Start-BitsTransfer ($url + "/" + $_.href) -Asynchronous
})

# Close the transfers and convert from TMP to real file names
Get-BitsTransfer | Complete-BitsTransfer
Conclusion
Well, as long as you have an exact source URL, downloading files with PowerShell is pretty easy. I can see where it would be very handy, especially on GitHub if you don’t have access to Visual Studio to merge or download something to your machine. If you’d like to see any additional examples, please leave a comment below!